
There’s something deeply satisfying about turning a plain terracotta pot into a little piece of art. With just a few supplies and some creativity, clay pots can go from basic and boring to stylish, playful, or downright elegant. Whether you’re decorating a balcony, refreshing indoor planters, or planning a fun weekend DIY, painted clay pots are an easy win.
The best part? You don’t need to be an artist. Simple techniques and smart prep make all the difference. Let’s walk through everything step by step so your pots look beautiful and last.
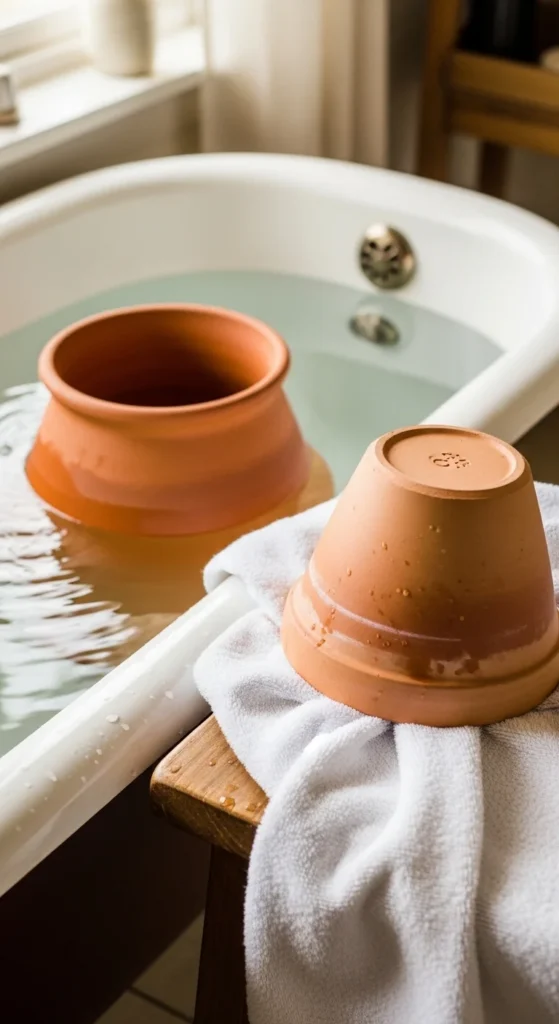
Step 1: Prep the Clay Pot Properly (Don’t Skip This)
If paint has ever looked blotchy or peeled off your pots, prep was probably the problem. Terracotta is porous—it drinks up moisture like a sponge.
Here’s how to prep the right way:
- Rinse the pot with water to remove dust
- Soak it in water for 30–60 minutes
- Scrub gently with a brush if there’s residue
- Let it dry completely (usually overnight)
For even better results, apply a thin layer of acrylic gesso or primer. This helps colors appear brighter and last longer.
Pro tip: Leave the drainage hole and bottom rim unpainted so water can escape and plants stay healthy.
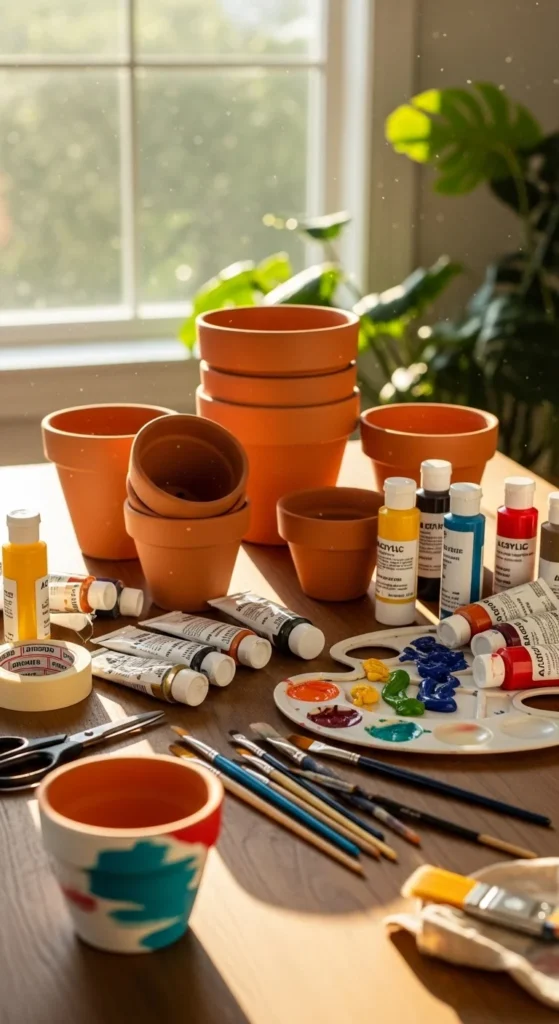
Step 2: Choose the Right Paint and Tools
Acrylic paint is the go-to choice for clay pots. It sticks well, comes in endless colors, and is beginner-friendly.
What works best:
- Acrylic craft paints (matte or satin finish)
- Foam brushes for smooth base coats
- Small round brushes or cotton swabs for details
- Paint pens for faces, dots, and outlines
Thin your paint slightly with water, especially for the first coat. Terracotta absorbs paint quickly, and thinner layers help avoid streaks.

Step 3: Apply the Base Coat Like a Pro
Your base coat sets the stage for everything else. Rushing here can ruin even the best design.
Base coat tips:
- Paint side-to-side instead of up-and-down
- Use 2–3 thin coats rather than one thick one
- Let each coat dry fully before adding the next
If you want a softer, earthy look, let hints of terracotta peek through. For bold or pastel designs, use primer plus opaque layers.
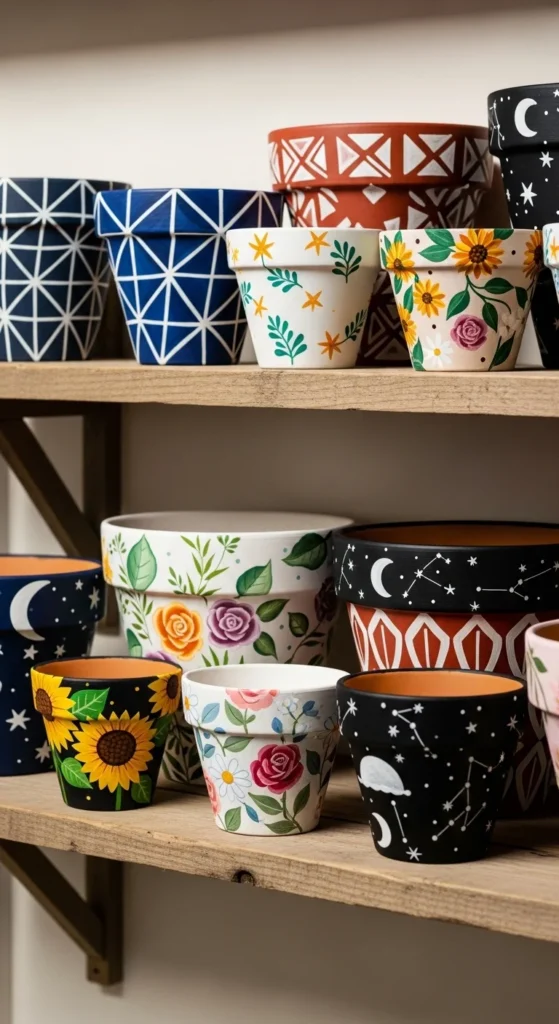
Step 4: Add Designs That Match Your Style
This is where the fun really begins. Painted clay pots work with almost any aesthetic, from minimal to whimsical.
Popular design ideas:
- Geometric patterns using painter’s tape
- Ombre blends by wet-blending two shades
- Celestial themes with stars and moons
- Floral motifs like lavender or leafy vines
- Cute icons such as bees, faces, or fruit
For a distressed or antique look, lightly rub edges with a wire brush once the paint dries to reveal the underlayer.
Step 5: Seal for Indoor or Outdoor Use
Sealing is the secret to paint that doesn’t fade, chip, or bubble—especially outdoors.
Choose your sealer wisely:
- Clear acrylic spray for even coverage
- Matte sealer for rich, modern colors
- Extra coats inside the pot if it will be outdoors
Apply 2–3 light coats, letting each one dry. Avoid sealing the drainage hole.
Once sealed, let the pot cure for 24–48 hours before adding soil or plants.
[Image Prompt] A hand spraying clear acrylic sealer onto painted clay pots outdoors on a sunny day.
Step 6: Extra Tips for Long-Lasting Results
Small details make a big difference:
- Paint the inside rim to hide raw clay when planted
- Match leftover house paint to your home decor
- Use glow-in-the-dark paint for night gardens
- Scale designs bigger for large pots so they don’t get lost
If you’re crafting with kids, stick to stencils, dots, and simple flowers. It keeps things fun and frustration-free.
Final Thoughts: Make It Yours
Painting clay pots isn’t about perfection—it’s about personality. Every brushstroke adds charm, and even small imperfections make the piece feel handmade and special. Whether you go bold, neutral, playful, or elegant, your pots will instantly elevate your space.
So grab a brush, put on some music, and start painting.
✨ Save this guide for later and pin your favorite ideas for your next DIY day!

Leave a Reply