
Advent calendars are one of the most charming Christmas traditions—tiny surprises, sweet notes, and a countdown that builds excitement for the season. But instead of buying the usual box-style version, you can transform your wall into a breathtaking Advent calendar display that looks like actual holiday décor. Think of it as a festive art piece that brings joy and elevates your home.
A wall-mounted Advent calendar doesn’t just mark the days—it becomes a conversation piece, a design moment, and a cozy, magical part of your Christmas home.
Let’s build one that feels both meaningful and stunning.
Choose a Wall Space That Acts as a Natural Focal Point
Before you start creating your Advent display, choose the perfect wall. You want a spot that’s:
- Visible but not crowded
- Easy to style
- Near other Christmas décor for a cohesive look
- Large enough to display 24–25 items
Popular locations include:
- Living room accent wall
- Hallway
- Entryway
- Staircase wall
- Beside the Christmas tree
- Above a console table
Choosing the right spot ensures your Advent calendar feels like intentional décor, not an afterthought.
Pick Your Advent Calendar Style (This Sets the Mood!)
There are countless ways to design an Advent wall calendar. Choose a style that blends beautifully with your Christmas theme.
Popular styles to consider:
- Minimal Scandinavian: neutral tones, kraft envelopes, clean lines
- Rustic Farmhouse: twine, wooden clothespins, greenery, mini kraft bags
- Modern Chic: gold numbers, sleek clips, black-and-white accents
- Whimsical Christmas: bright colors, fun patterns, playful shapes
- Nature-Inspired: pine sprigs, eucalyptus, earthy tones
Once you choose your style, the rest of the design decisions become much easier.
Gather the Materials for Your Wall Display
Here are the basics you’ll need:
- Numbered envelopes, bags, boxes, or tags (24 or 25 depending on tradition)
- Twine, ribbon, yarn, or wire for hanging
- Command hooks, nails, or removable wall clips
- Mini clothespins or metal clips
- Greenery (real or faux)
- Optional: fairy lights, ornaments, paper cutouts, dried oranges

Gathering everything beforehand makes the design process flow smoothly.
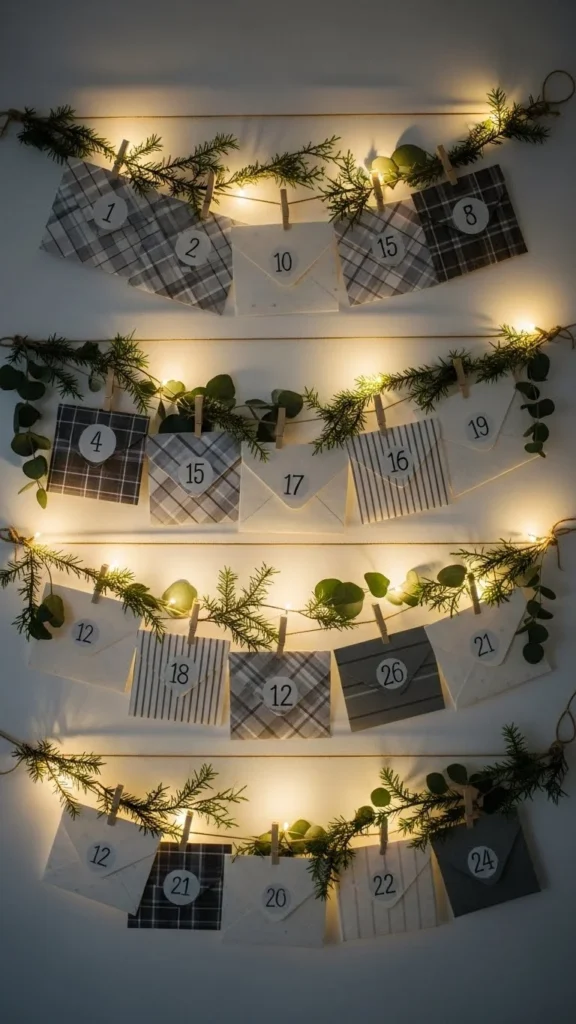
Plan the Layout: Rows, Tree Shape, Grid, or Cascading Display
Your layout is what turns this from a simple countdown into a stunning wall installation.
Here are a few popular layout ideas:
- Horizontal hanging rows using twine
- Vertical ribbons with evenly spaced bags
- Tree-shaped layout using rows that taper toward the top
- Grid pattern with symmetrical envelopes
- Cascading design for a relaxed, effortless look
- Hanging branches with envelopes dangling below
For a polished look, lightly sketch the layout on paper or place items on the floor first to test spacing.
Assemble the Hanging Structure
Now it’s time to create your foundation.
- Attach your hooks or clips to the wall
- Hang your twine, ribbon, or wire
- Ensure spacing is even—use a measuring tape for clean lines
- Add a touch of greenery to the top if desired
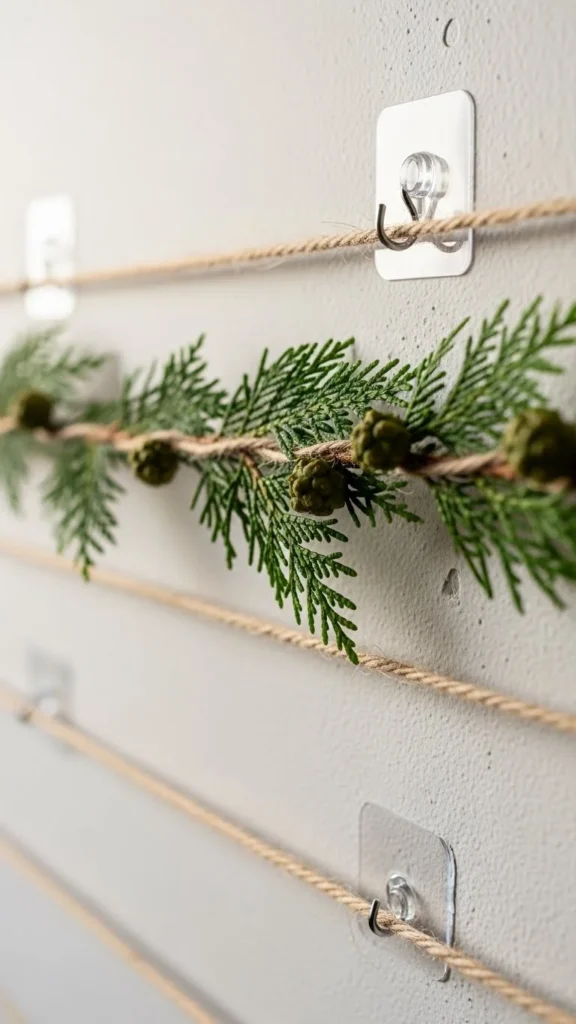
This base will support your entire display, so take your time to get it just right.
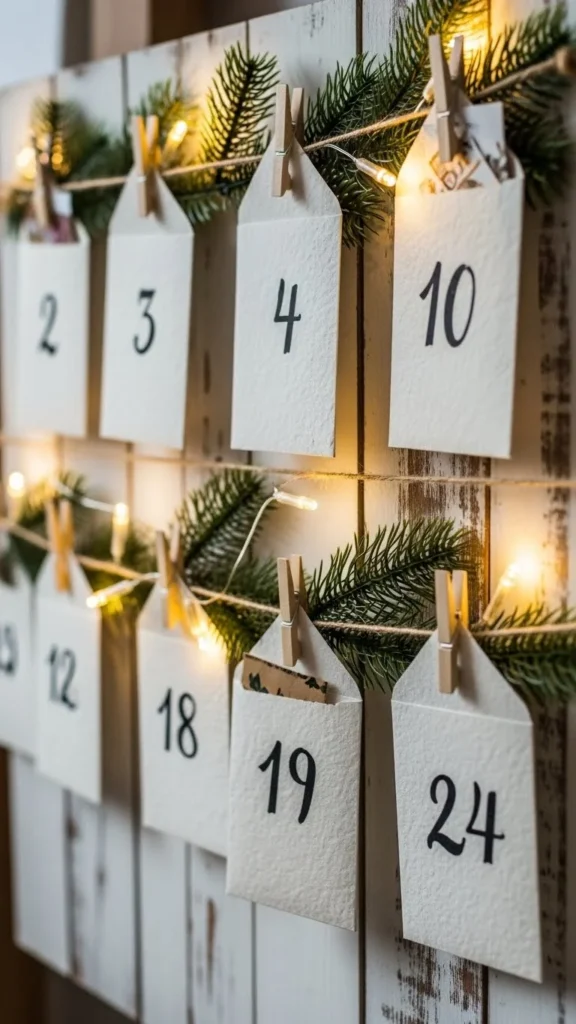
Attach the Advent Items and Decorate Creatively
This is the fun part! Start attaching your envelopes, mini bags, or boxes.
Tips for styling as you go:
- Mix shapes and sizes for visual interest
- Alternate envelope colors or patterns
- Add greenery between rows
- Place fairy lights around or behind the display
- Space items evenly for a clean look
- Use decorative clips for extra charm
If you’re creating a tree shape, ensure the widest row is at the bottom and work upward until the top forms a single point.
Remember: the goal is polished and sentimental.
Choose What to Fill Each Advent Day With
You can make your Advent calendar exciting, meaningful, spiritual, or fun depending on what you fill it with.
Filling ideas:
- Mini chocolates or candies
- Holiday activity cards
- Scripture verses or affirmations
- Acts of kindness prompts
- Tiny ornaments
- Stickers for kids
- Small surprises or thoughtful notes
- Family challenges (e.g., “Bake cookies tonight”)
This adds personal magic to your display—every day is a new moment of delight.
Add Finishing Touches That Make It Look Like Decor
To make your Advent wall display look truly stunning, finish it off with thoughtful styling.
Add:
- A garland draping over the top
- Fairy lights for glow
- A wooden or metal “Merry Christmas” sign above it
- Ornaments sprinkled in between
- A small wreath nearby
- Ribbon bows at the ends of each row
These little details turn a DIY project into a Pinterest-worthy centerpiece.
Conclusion: Create Holiday Magic That Lasts All Season
A wall-mounted Advent calendar is more than a countdown—it’s a heartfelt decoration that brings joy every single day of December. With the right layout, materials, and styling, you can create a stunning piece that your family, guests, and kids will love.

Leave a Reply