
There’s something magical about a beautifully decorated clay pot. The kind you see in boutiques or scrolling Pinterest and think, “That must be expensive.” The good news? You can totally make that look at home—without fancy tools or an art degree. With the right prep, simple techniques, and a few pro tricks, your plain terracotta pots can look polished, stylish, and genuinely store-bought.
Whether you’re crafting for your home, gifting, or just having fun, this guide walks you step by step through turning basic clay pots into high-end decor pieces.
Start With the Right Prep (This Is the Secret Step)
If you skip prep, even the prettiest design won’t last. Clay (terracotta) pots are porous—think sponge. They soak up paint fast and can cause streaks or fading if you don’t prep correctly.
Do this first:
- Wash pots with water to remove dust.
- Lightly sand rough areas.
- Wipe with rubbing alcohol to remove residue.
- Apply a primer, gesso, or clear sealer before painting.
This creates a smooth base and helps paint glide on evenly instead of disappearing into the clay.
Pro tip: If you want a natural clay look showing through, use a clear sealer instead of white primer.
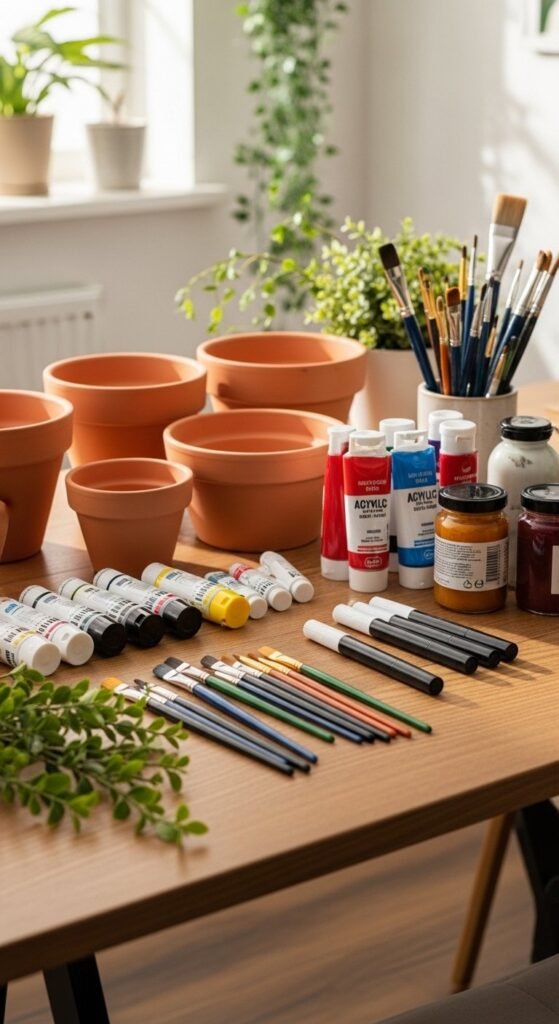
Choose Paints That Give a Professional Finish
Not all paints are equal when it comes to clay pots. Acrylic paint dominates for a reason—it’s affordable, versatile, and dries fast.
Best options:
- Acrylic paint: Ideal for base coats and bold colors.
- Paint markers (like Posca or oil-based Sharpies): Perfect for details, lettering, and clean lines.
- Chalk paint: Great for farmhouse or vintage styles.
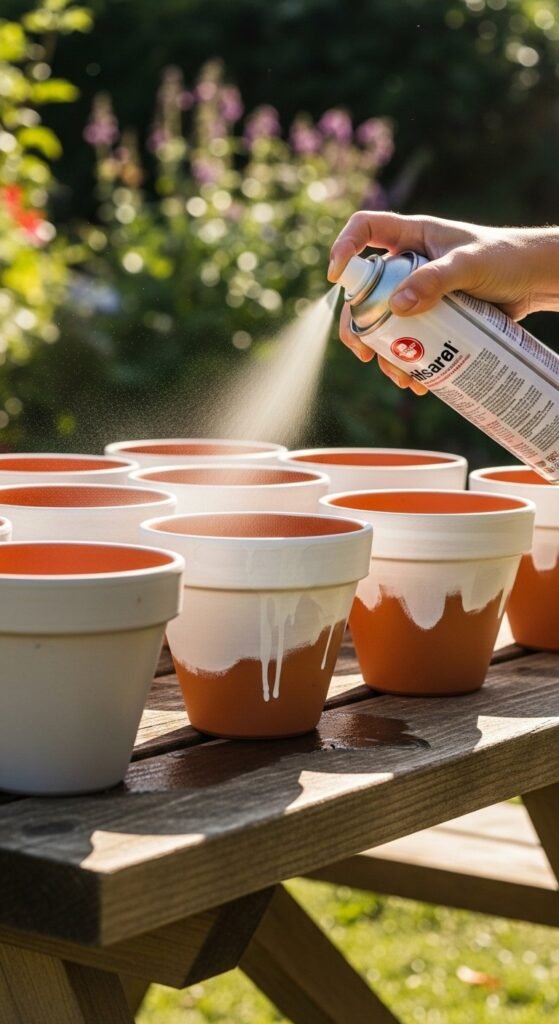
- Spray paint: Best for smooth, outdoor-friendly finishes.

Quick technique: Use a sponge brush for base coats—it reduces brush marks and speeds up drying.
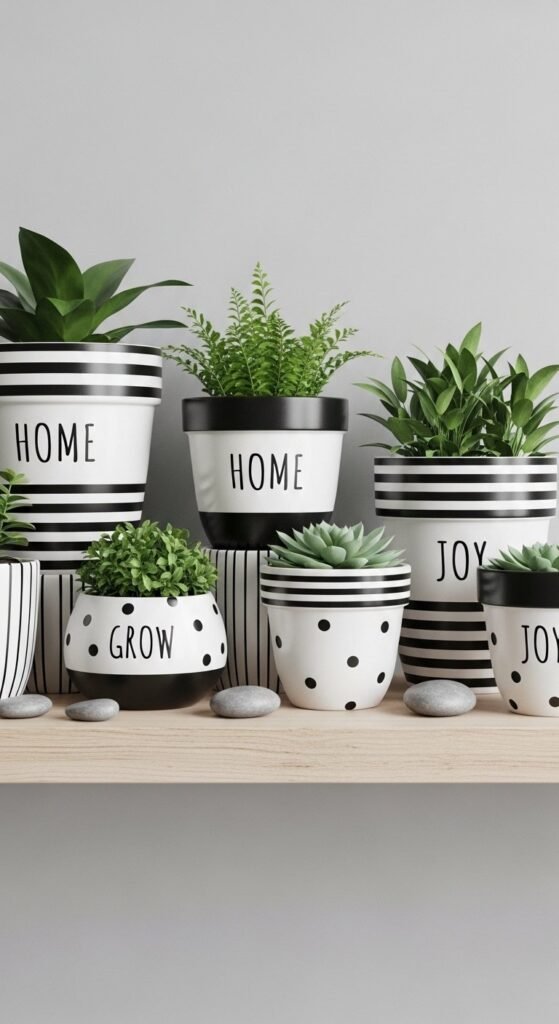
Easy Designs That Always Look Store-Bought
You don’t need to freehand complex art. Simple, clean designs are what make pots look professionally made.
Beginner-friendly ideas:
- Polka dots: Use Q-tips or the end of a brush.
- Stripes: Painter’s tape = crisp lines.
- Color blocking: Two or three muted tones feel modern.
- Minimal quotes or names: Personal but classy.
Paint markers give you control on curved surfaces, which is why they’re a favorite for lettering and mandala designs.
Try Decoupage for Texture and Depth
If you want something different from paint, decoupage is your secret weapon. Tissue paper, napkins, or fabric add texture that instantly elevates the look.
How it works:
- Paint a light base coat.
- Apply Mod Podge.
- Gently press napkins or tissue paper onto the pot.
- Seal once dry.
This technique is especially beautiful for floral, boho, or vintage-inspired pots.
Important: Always seal decoupage pots well—moisture can ruin unprotected paper designs.
Seal It Like a Pro (Don’t Skip This!)
Sealing is what turns a DIY pot into something that lasts—and looks legit.
Choose your sealer based on use:
- Outdoor pots: Waterproof spray sealer or exterior varnish.
- Indoor decor: Matte or satin acrylic sealer.
- Shiny finish: Gloss varnish for that boutique look.
Apply 2–3 thin coats, letting each dry fully.
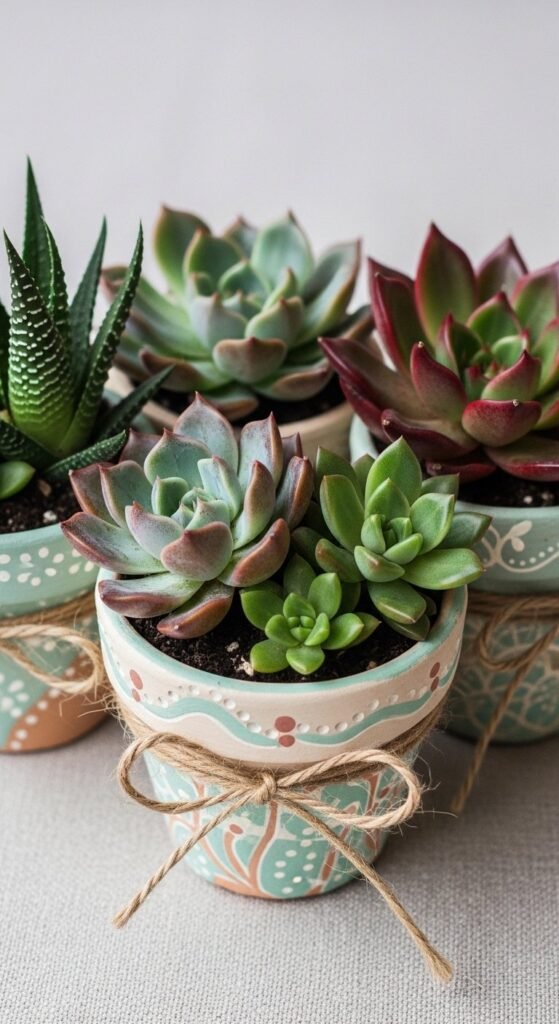
Make Them Functional and Beautiful
Store-bought decor always balances style and purpose. You can do the same with smart design choices.
Ideas that sell the look:
- Label herb pots with stencils.
- Pair mini pots with succulents.
- Create matching sets (same color palette, different patterns).
- Stack pots into tiered or 3D designs like gnomes or mushrooms.
Mini pots are especially great for quick gifts—you can finish one in under 30 minutes.
Add a “Designer” Touch
These little extras make a big difference:
- Lightly sand edges for a distressed, vintage look.
- Add gold splatter using a toothbrush.
- Line the inside with clear sealant to protect roots.
- Stick to 2–3 colors per pot for a cohesive finish.
Remember: restraint is what makes something feel expensive.
Final Takeaway
Decorating clay pots isn’t about being perfect—it’s about smart prep, simple designs, and finishing strong with a good sealer. When you follow these steps, your pots won’t just look handmade… they’ll look store-bought.
Save this guide for later, grab a few plain terracotta pots, and start creating decor that looks way more expensive than it actually is 🌿✨

Leave a Reply