
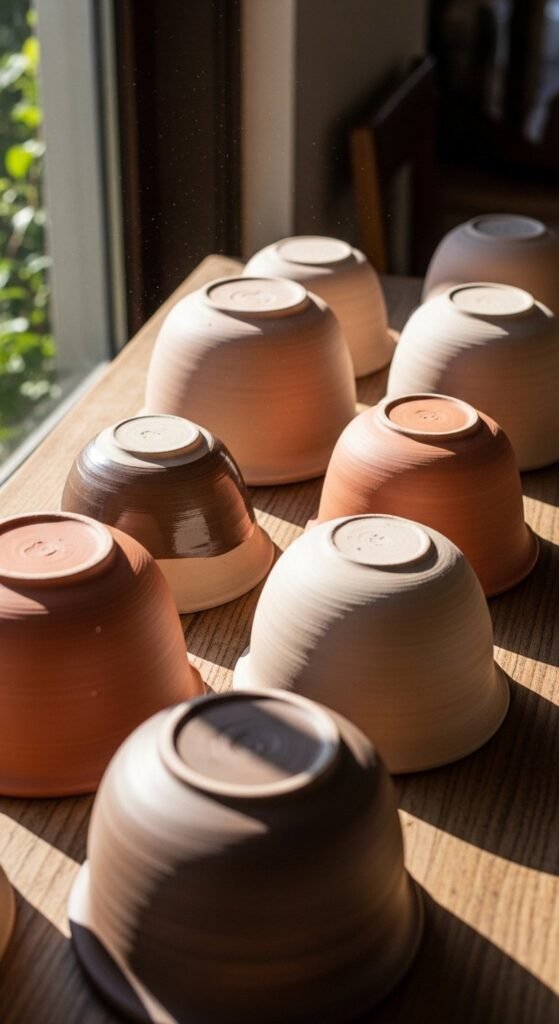
You finally painted that clay pot perfectly only to set a plant inside and watch water slowly seep through, leaving rings on your shelf or patio.
The good news? You don’t need to toss your beautiful creation or start over.
With the right sealing method, you can turn almost any painted clay pot into a durable, waterproof planter that looks great and lasts for years.
Let’s walk through the simple, beginner-friendly process plus tips to avoid peeling paint, cloudiness, and leaks.
Why Painted Clay Pots Still Leak
Clay (especially terracotta) is naturally porous. Even after painting, microscopic holes remain, allowing moisture to escape.
Sealing does three important things:
- Locks paint in place
- Blocks water from soaking through
- Makes the surface easier to clean
Think of sealant as an invisible raincoat for your pot.
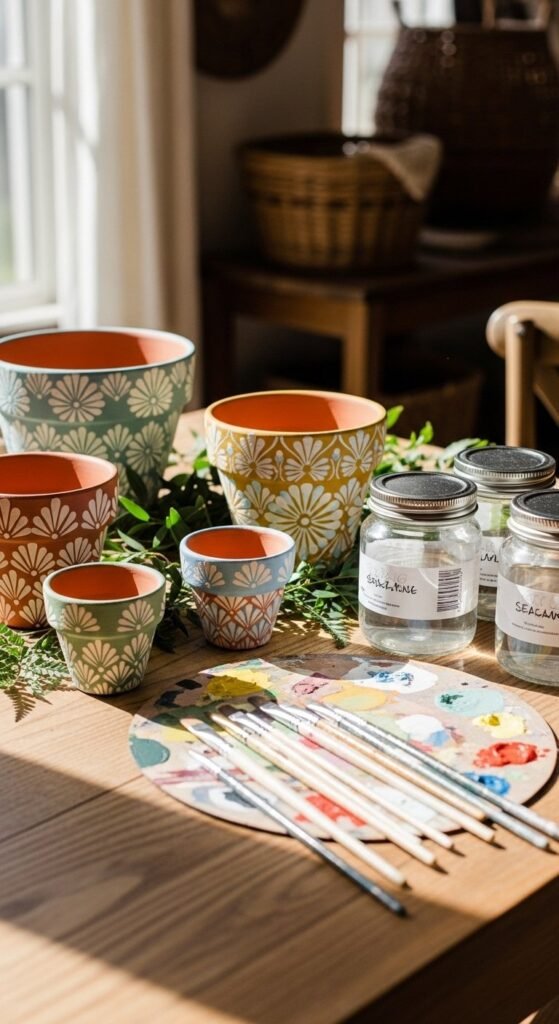
What You’ll Need
Before starting, gather a few basic supplies:
- Clean, fully dry painted clay pot
- Soft brush or foam brush
- Waterproof sealant (choose one below)
- Drop cloth or cardboard
- Optional: gloves
Good sealant options
- Water-based acrylic sealer (easy, low odor)
- Clear polyurethane (stronger protection)
- Epoxy resin (maximum waterproofing)
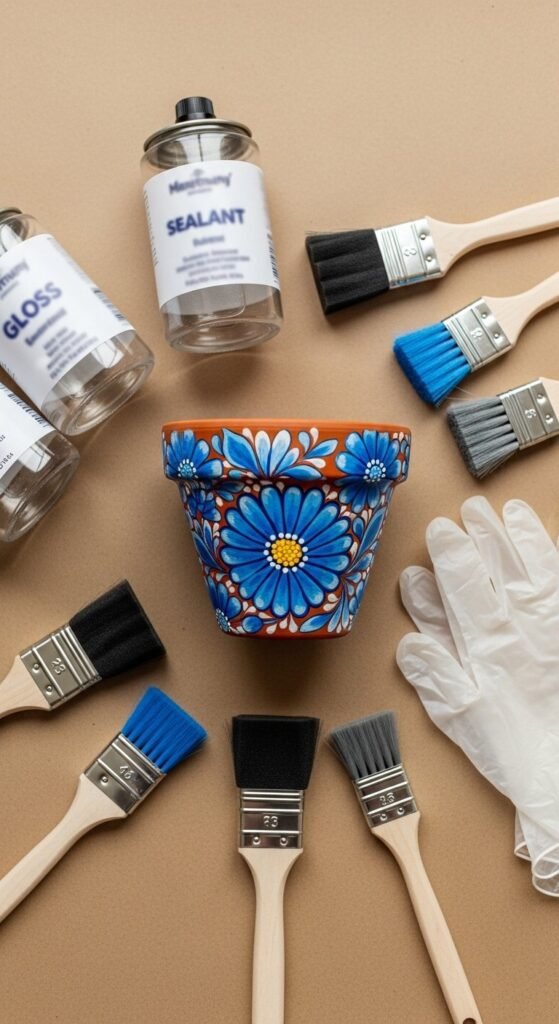
If the pot will hold edible herbs, look for a non-toxic or food-safe labeled sealer.
Step 1: Let Paint Cure Completely
Dry paint is not the same as cured paint.
- Acrylic paint: wait 24–48 hours
- Thicker paint layers: wait up to 72 hours
If you seal too soon, moisture can get trapped and cause bubbling or peeling.
Quick check: Press a fingernail lightly against an inconspicuous spot. No mark? You’re good.
Step 2: Seal the Inside First (The Most Important Part)
The interior takes the most abuse from constant moisture.
- Dip your brush into the sealant.
- Apply a thin, even coat inside the pot.
- Cover the bottom and sides completely.
- Let dry according to product instructions.
For extra protection:
- Apply 2–3 interior coats
- Allow drying time between coats
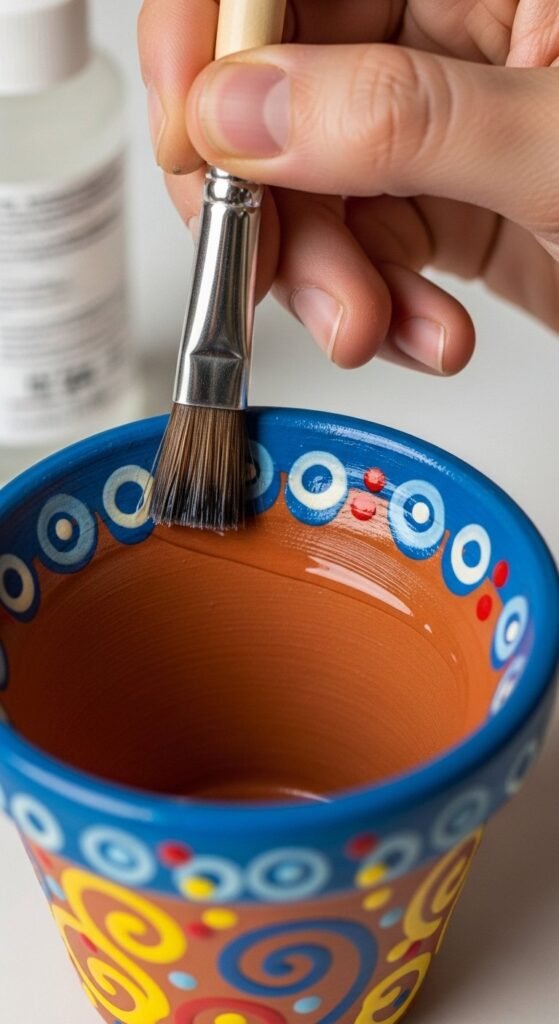
Tip: Use long, smooth strokes to prevent puddles.
Step 3: Seal the Outside to Protect the Artwork
Even if leaks worry you more than fading, sealing the outside matters.
- Prevents paint from scratching
- Adds water resistance from rain or splashes
- Enhances color depth
Brush a thin coat over the painted surface, working in sections.
Optional finish choices:
- Matte → soft, natural look
- Satin → subtle sheen
- Gloss → bold, shiny finish
Step 4: Don’t Forget the Drainage Hole
If your pot has a drainage hole:
- Lightly coat around the hole edges
- Avoid filling the hole completely
This prevents water from soaking into raw clay while still allowing drainage.
If your pot has no hole:
- You can fully seal the interior and use it as a cachepot (nursery pot inside)
- Or drill a hole before sealing
Step 5: Cure Before Planting
Most sealants feel dry quickly, but curing takes longer.
General guideline:
- Light handling: 24 hours
- Planting: 48–72 hours
Place the pot in a well-ventilated area while curing.
Patience here prevents cloudy finishes and sticky surfaces later.
Best Sealant Type for Different Situations
For indoor decorative pots
- Water-based acrylic sealer
- Easy, low smell, affordable
For outdoor pots
- Exterior polyurethane or marine-grade sealer
- Better UV and weather resistance
For heavy watering or no-drainage pots
- Epoxy resin inside, acrylic outside
Mix-and-match works well: epoxy for interior strength, acrylic for exterior beauty.
Extra Tips for Long-Lasting Results
- Thin coats beat thick coats every time
- Lightly sand between coats for ultra-smooth finish
- Avoid shaking sealant cans (causes bubbles)
- Store leftover sealant tightly sealed
If your pot starts to dull after months outdoors, simply clean and apply a fresh top coat.
Common Mistakes to Avoid
- Sealing dusty or dirty pots
- Skipping interior sealing
- Planting too soon
- Using indoor-only sealant outdoors
Avoiding these saves frustration and rework.
Can You Seal Air-Dry or Polymer Clay Pots?
Yes with slight differences:
- Air-dry clay: must be sealed; it is never waterproof on its own
- Polymer clay: already waterproof after baking, but sealing adds shine and scratch resistance
For air-dry clay, apply at least 3 coats inside and out.
Quick Waterproofing Test
Before planting:
- Add water to the pot.
- Let sit for 10 minutes.
- Check the outside surface and bottom.
If dry → success!
If damp → add another interior coat and retest.
Final Thoughts
Sealing painted clay pots is one small step that makes a huge difference. Your designs stay vibrant, your shelves stay dry, and your plants stay happy.
Once you try it, you’ll never skip this step again.
Save this guide for later, and pin it to your DIY planter board! 🌱

Leave a Reply