
There’s nothing more frustrating than spending time painting a clay pot… only to watch the paint chip, crack, or peel a few days later. 😩 The good news? With the right prep, paint, and sealing method, acrylic paint can bond beautifully to clay pots and stay put for years.
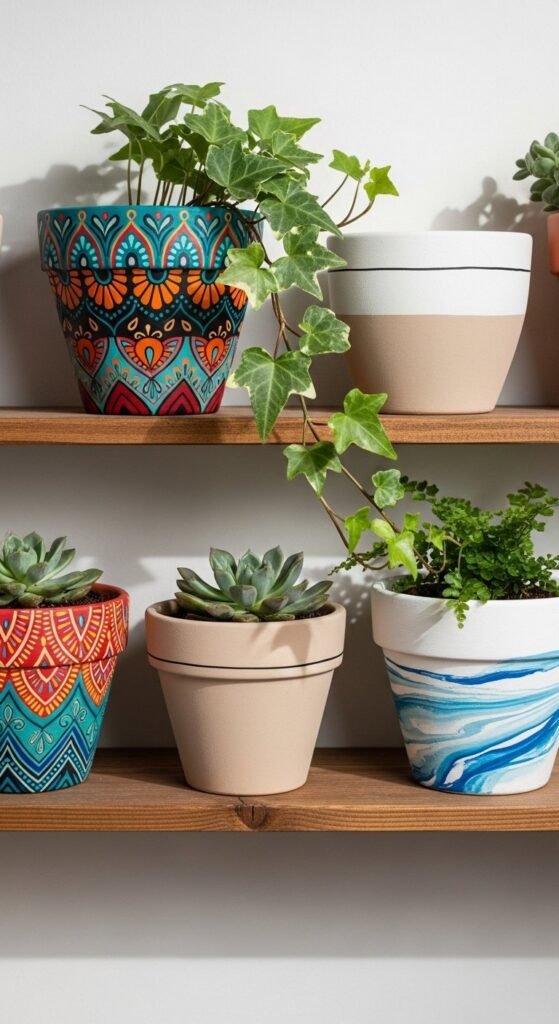
Whether you’re creating boho planters, modern minimalist pots, or kid-friendly garden crafts, this guide walks you through exactly how to get smooth, long-lasting results (even outdoors).
Why Acrylic Paint Peels on Clay Pots (and How to Stop It)
Clay pots are naturally porous, meaning they absorb moisture and moisture is acrylic paint’s worst enemy.
Common reasons peeling happens:
- Dust or residue on the pot
- No primer or base coat
- Paint applied too thick
- No protective sealer
- Moisture from soil or rain
The solution? Think in layers:
Clean → Prime → Paint → Seal
Each step creates a stronger bond between the paint and the clay.
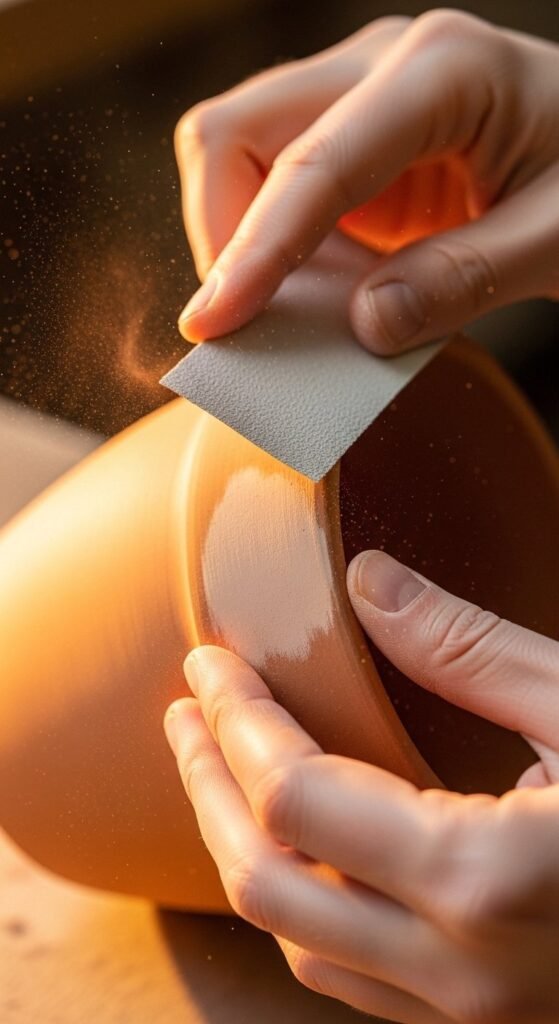
Step 1: Clean and Prep the Pot
Even brand-new pots often carry clay dust that interferes with adhesion.
What to do:
- Rinse the pot with warm water
- Scrub lightly with a brush
- Let dry completely
- Lightly sand the surface with fine-grit sandpaper (optional but helpful)
Sanding gives the paint something to “grab onto.”
Pro Tip:
If your pot previously held plants, soak it in a vinegar-and-water solution (1:4 ratio) to remove mineral buildup, then rinse and dry.
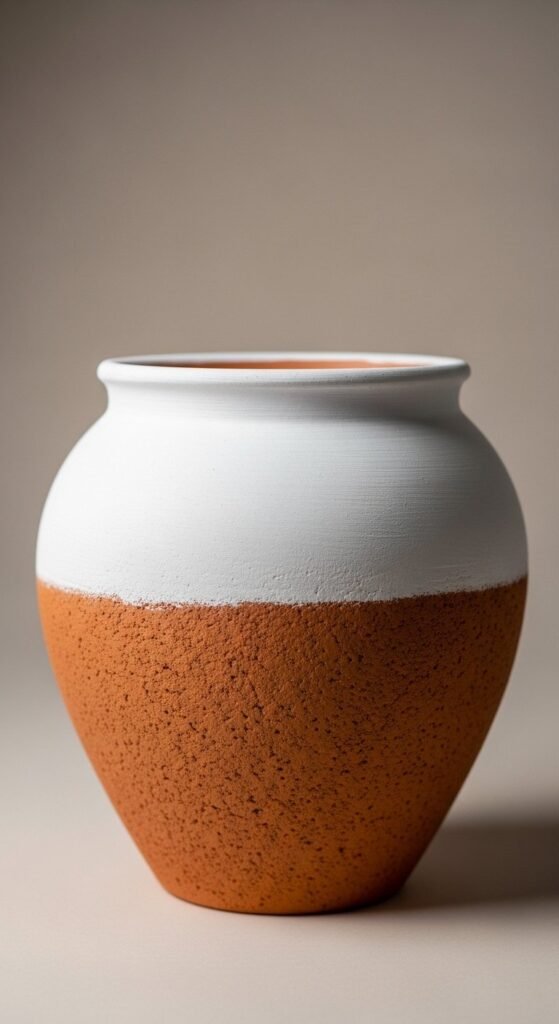
Step 2: Apply a Primer or Base Coat
Primer is the secret weapon for preventing peeling.
You have two good options:
- Acrylic gesso
- White or neutral acrylic paint diluted slightly with water
How to apply:
- Use a soft brush or foam brush
- Apply thin, even coats
- Let each coat dry before adding the next
- 1–2 coats is usually enough
This layer seals the clay’s pores and improves color vibrancy.
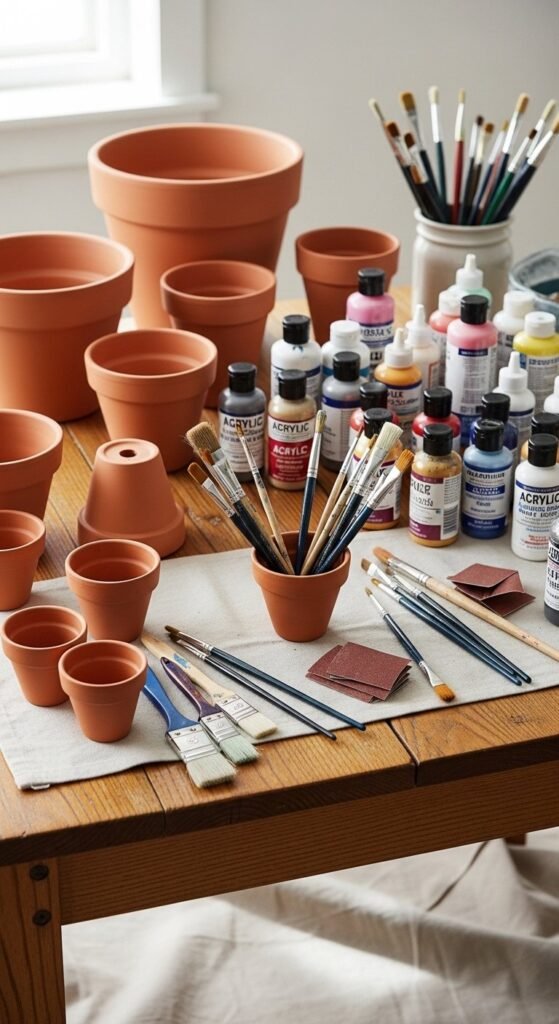
Step 3: Choose the Right Acrylic Paint
Not all acrylic paints perform the same on clay.
Look for:
- Multi-surface acrylics
- Outdoor or craft-grade acrylics
- Non-toxic options if kids are involved
Avoid very cheap, watery paints; they tend to streak and peel faster.
Color coverage tips:
- Use thin layers
- Let each layer dry fully
- Build color gradually
Thick paint may look faster, but it cracks more easily.
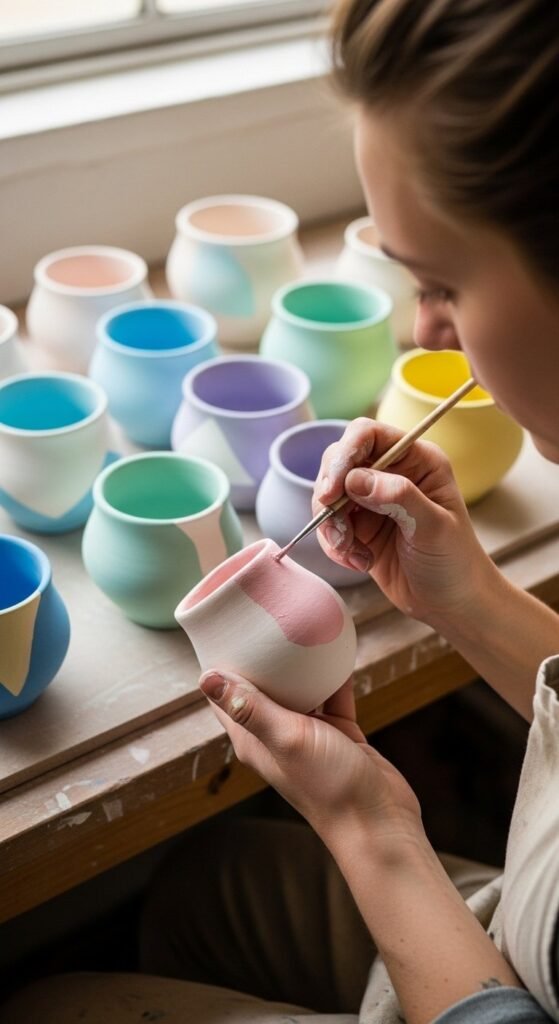
Step 4: Paint in Thin, Even Layers
This is where patience pays off.
Best practices:
- Use soft synthetic brushes or foam brushes
- Paint in one direction per coat
- Allow 20–30 minutes drying time between coats
- Apply 2–3 thin coats instead of one thick coat
If you’re adding designs (dots, stripes, stencils), wait until the base color is fully dry.
Step 5: Let the Paint Cure (Don’t Rush!)
Dry paint and cured paint are not the same.
After your final coat:
- Let pots air dry at least 24 hours
- Keep them in a dry, dust-free area
Curing allows the acrylic polymers to harden and strengthen.
Skipping this step often leads to peeling later even with sealer.
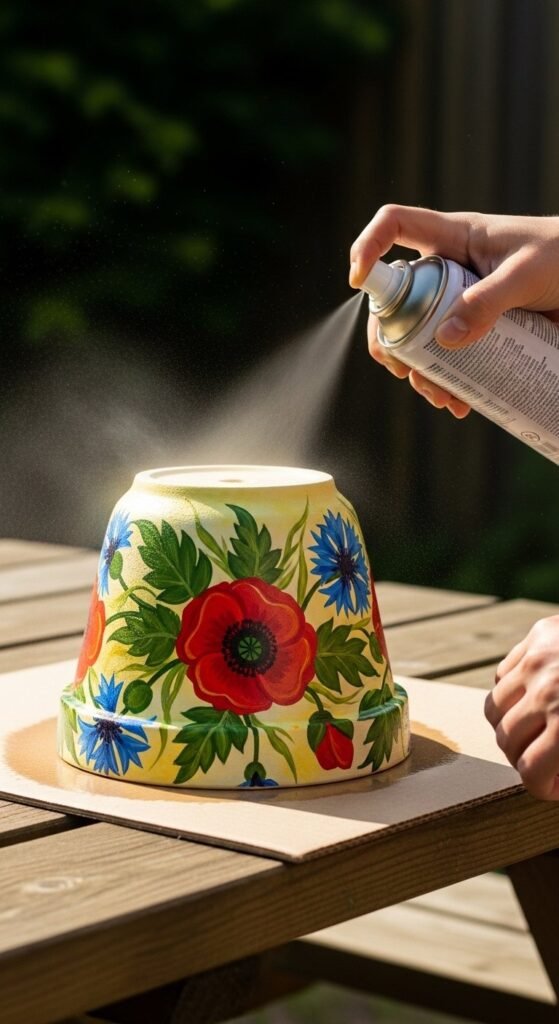
Step 6: Seal for Long-Lasting Protection
Sealing is non-negotiable if you want durability.
Best sealers:
- Clear acrylic spray sealer
- Outdoor polyurethane spray
- Matte, satin, or gloss finishes (your preference)
Spray sealers create thinner, more even protection than brush-on formulas.
How to seal:
- Work in a well-ventilated area
- Apply light coats
- Let each coat dry
- Apply 2–3 coats
Extra protection for outdoor pots:
Seal both the inside and outside of the pot.
Step 7: Prevent Moisture Damage from the Inside
Even sealed paint can peel if constant moisture seeps through the clay.
Choose one:
- Line the inside with clear sealer
- Use a plastic nursery pot inside your decorative pot
- Add a plastic liner with drainage holes
This creates a moisture barrier that dramatically increases lifespan.
Troubleshooting Common Problems
Paint looks streaky
Add another thin coat after drying
Bubbles forming
Paint too thick or shaking paint bottle; stir instead
Peeling edges
Lightly sand, repaint thinly, reseal
Fading outdoors
Use UV-resistant sealer and brighter pigments
Optional: Advanced Techniques That Still Last
Want to level up?
- Acrylic pour designs (seal extra well)
- Marbling with two colors
- Gold or metallic leaf accents
- Textured mediums for raised patterns
Always finish with multiple sealer coats.
Quick Checklist
Before you start:
- ✔ Clean pot
- ✔ Light sanding
- ✔ Prime
- ✔ Thin paint layers
- ✔ 24-hour cure
- ✔ 2–3 sealer coats
- ✔ Moisture protection inside
Follow this system, and your painted clay pots can stay beautiful for years without peeling, flaking, or frustration.
Final Takeaway
Great results aren’t about expensive supplies, they’re about prep, patience, and protection. Save this guide, pin it for later, and turn plain clay pots into long-lasting works of art! 🎨

Leave a Reply