
Every Christmas has its own magic—but the photos you take along the way are what truly bring the season back to life. A DIY Christmas photo garland blends style, nostalgia, and cozy personality into one festive décor piece. Whether you want something rustic, modern, glam, or totally quirky, a photo garland instantly transforms any wall, mantel, or doorway into a warm, story-filled display of holiday moments.
This tutorial walks you through how to make a stunning photo garland from scratch—simple enough for beginners yet customizable for any décor style.
Why a Christmas Photo Garland Is the Perfect DIY Décor
A photo garland does more than decorate your home—it personalizes your holiday space and carries emotional impact. It’s one of the easiest ways to:
- Display your favorite Christmas memories
- Add budget-friendly, high-impact décor
- Create a cozy, sentimental ambiance
- Mix handmade charm with modern aesthetics
- Encourage family involvement in decorating
Plus, it’s super flexible—you can hang it across windows, stair railings, shelves, TV consoles, or above your hot cocoa bar.
What You’ll Need
Before you begin, gather your supplies. Most items are inexpensive and easy to find.
- Printed photos or Polaroids
- Twine, ribbon, or yarn
- Mini clothespins, clips, or binder clips
- Fairy lights (optional but gorgeous!)
- Decorative elements (bells, pinecones, small ornaments, greenery)
- Command hooks, adhesive strips, or nails
- Hole puncher or craft glue (if needed)
Step 1: Choose the Right Photos for Your Garland
Your photos set the tone for the entire look. Mix candid, cute, stylish, and memory-filled shots to create visual variety.
Consider including:
- Family portraits
- Snow day photos
- Holiday trips
- Baking and cooking moments
- Childhood Christmas memories
- Pet photos (always a crowd favorite!)
- Classic festive scenes like lights, trees, and ornaments
Pro tip: Print photos in different sizes—square, mini Polaroid, or postcard-size—to add dimension.

Step 2: Pick a Style That Matches Your Christmas Aesthetic
Photo garlands can match any vibe. Try one of these styles:
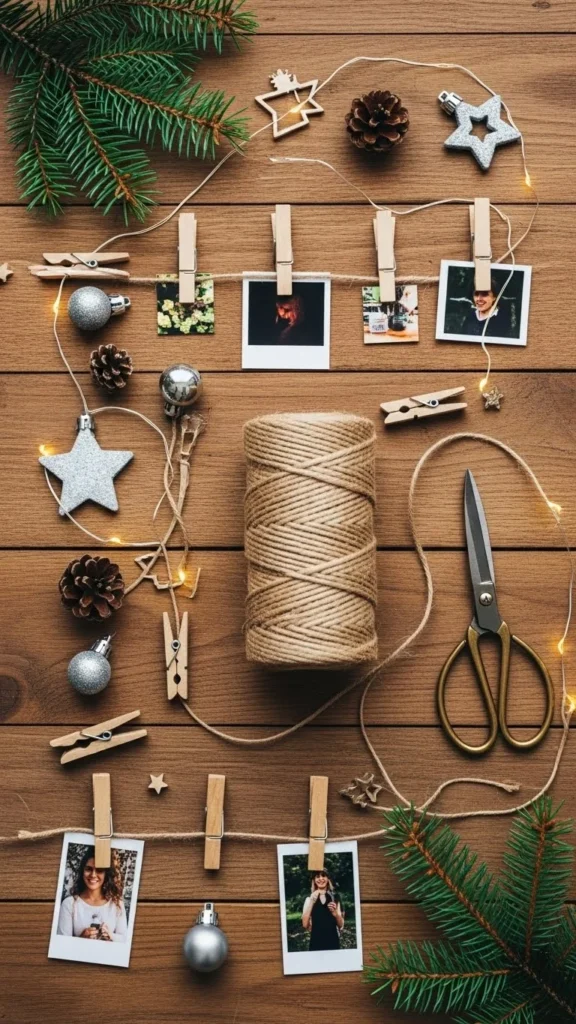
1. Rustic & Cozy
- Jute twine
- Wooden clips
- Pine sprigs
- Kraft-paper bordered photos
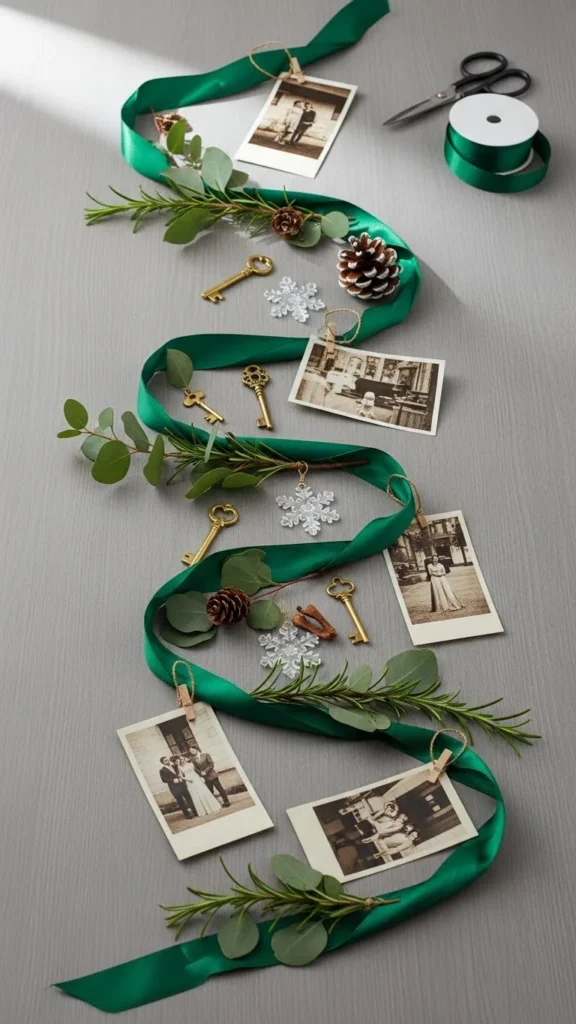
2. Modern & Minimalist
- White ribbon
- Sleek black clips
- Clean, bright photos
- Subtle LED micro-lights
3. Glam & Sparkly
- Gold or metallic ribbon
- Glitter clothespins
- Warm fairy lights woven through
4. Colorful & Fun
- Bright ribbons
- Rainbow clips
- Kids’ drawings mixed with photos
Choose 1–2 elements to keep your garland cohesive.
Step 3: Lay Out Your Garland Before Hanging
Before you commit it to the wall or mantel, arrange everything on a flat surface.
- Spread out your photos first
- Decide whether you want them evenly spaced or artfully random
- Mix vertical and horizontal photos
- Interleave your decorative accents
- Check if you want one long garland or multiple shorter strands
This preview step saves time and helps you visualize the final look.
Step 4: String Your Garland & Clip the Photos
Now bring everything to life:
- Cut your chosen twine or ribbon to your desired length.
- Attach mini clothespins or clips along the string.
- Clip each photo in place, adjusting spacing as needed.
- Add small decorative accents—bells, evergreen sprigs, tiny ornaments.
- If you’re adding lights, weave them gently through or behind the garland.
This step is quick, fun, and very customizable. No strict rules—just vibe with it!
Step 5: Hang Your Photo Garland Securely
To hang your garland beautifully and safely:
- Use removable Command hooks for walls
- For mantels, tape the ends under the ledge
- On stair railings, wrap the twine in a loose spiral
- On windows, secure corners with transparent clips
Make sure the garland hangs with a natural, gentle curve—it instantly looks more polished.
Optional Add-Ons to Elevate the Look
Want to take your garland from simple to Pinterest-worthy? Try these enhancements:
Add a Tag or Banner
Create a mini sign that reads:
- “Merry Moments”
- “Our Christmas Story”
- “Festive Memories”
Use Photo Frames
Add a few small lightweight frames to mix textures.
Incorporate Scent
Tie tiny bundles of cinnamon sticks or dried oranges along the garland for a sensory holiday touch.
Use Glitter Clothespins
Perfect for glam-themed decorating.
Add a Second Layer
Doubling the strands makes the display look fuller and more professional.
Where to Hang Your DIY Christmas Photo Garland
Think beyond the obvious! Here are perfect display spots:
- Across your Christmas tree as a photo ribbon
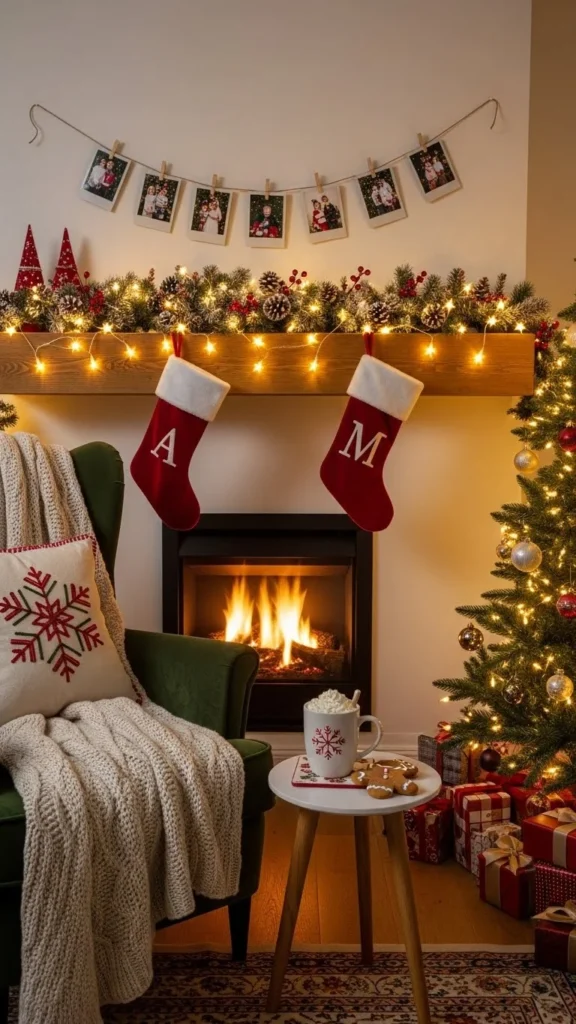
- Above a hot cocoa bar
- Over a fireplace mantel
- Around a bedroom headboard
- Across large empty walls
- Around the entryway or hallway
- On bookshelves or open kitchen shelving
Each spot changes the mood and tells a different holiday story.
Final Touches & Troubleshooting
If something looks off, try:
- Re-spacing photos
- Adding more greenery
- Minimizing clutter
- Switching ribbon colors
- Using LED lights for more glow
The charm of a DIY photo garland is in its imperfections—it should feel lived-in, warm, and full of love.
Conclusion: Capture the Magic of Christmas in Your Own Style
A DIY Christmas photo garland doesn’t just decorate your home—it lets your memories shine. It’s the perfect blend of creativity, coziness, and personal storytelling. Whether you hang it in your living room, bedroom, or entryway, it becomes a heartfelt visual journey through the moments that matter most.

Leave a Reply